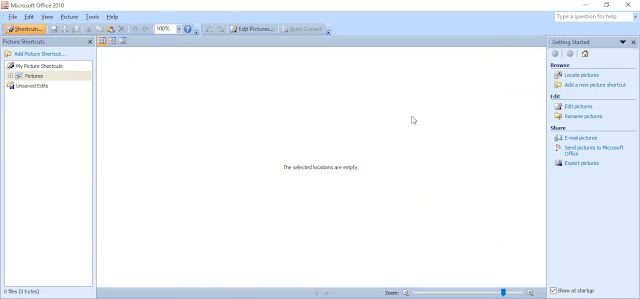
Microsoft Office Picture Manager (formerly Microsoft Picture Library) is a raster graphics editor introduced in Microsoft Office 2003 and included up to Office 2010. It was no longer included with versions of Microsoft Office starting with Office 2013. However, it is available as an optional component in SharePoint Designer 2010 and can be installed as a standalone application.
In this blog post or video, I am going to show you, How to install Microsoft Office Picture Manager on Windows 11 / 10 / 8.1 PC.
1. Download Microsoft Office Picture Manager installer
To install MS Office Picture Manager, we need to download SharePoint Designer 2010.
- Open SharePoint Designer 2010 download page according to your Windows system type:
- On the download page, click the Select Language drop-down box, choose your preferred language and then click on the Download button.
- And after that, the download will start.

2. Install Microsoft Office Picture Manager
- After download, open the Downloads folder (or the folder where you downloaded it).
- Right-click on SharePointDesigner.exe and select Run as administrator.
- On User Account Control, click on the Yes button.
- On Read the Microsoft Software License Terms, check/tick I accept... and click on Continue button.
- On Choose the installation you want, click on Customize button.
- On Installation Options, click on the drop-down arrow left of Microsoft SharePoint Designer and select Not Available. Repeat this step for Office Shared Features and Office Tools.Now, expand Office Tools and click on the drop-down arrow left of Microsoft Office Picture Manager and select Run from My Computer.
- And then click on Install Now button.
- The setup will install only Microsoft Office Picture Manager.
- After the installation completes, click on the Close button.
- You can now find Microsoft Office Picture Manager in the Start menu.


Source: Microsoft
Comments
Post a Comment